There is this moment: You finally hold the finished knitted piece in your hands. Weeks of work, hundreds of meters of precious yarn, countless stitches. And then – it doesn't fit. The sweater sags, the socks squeeze, the scarf feels stiff instead of supple.
The gauge would have told you.
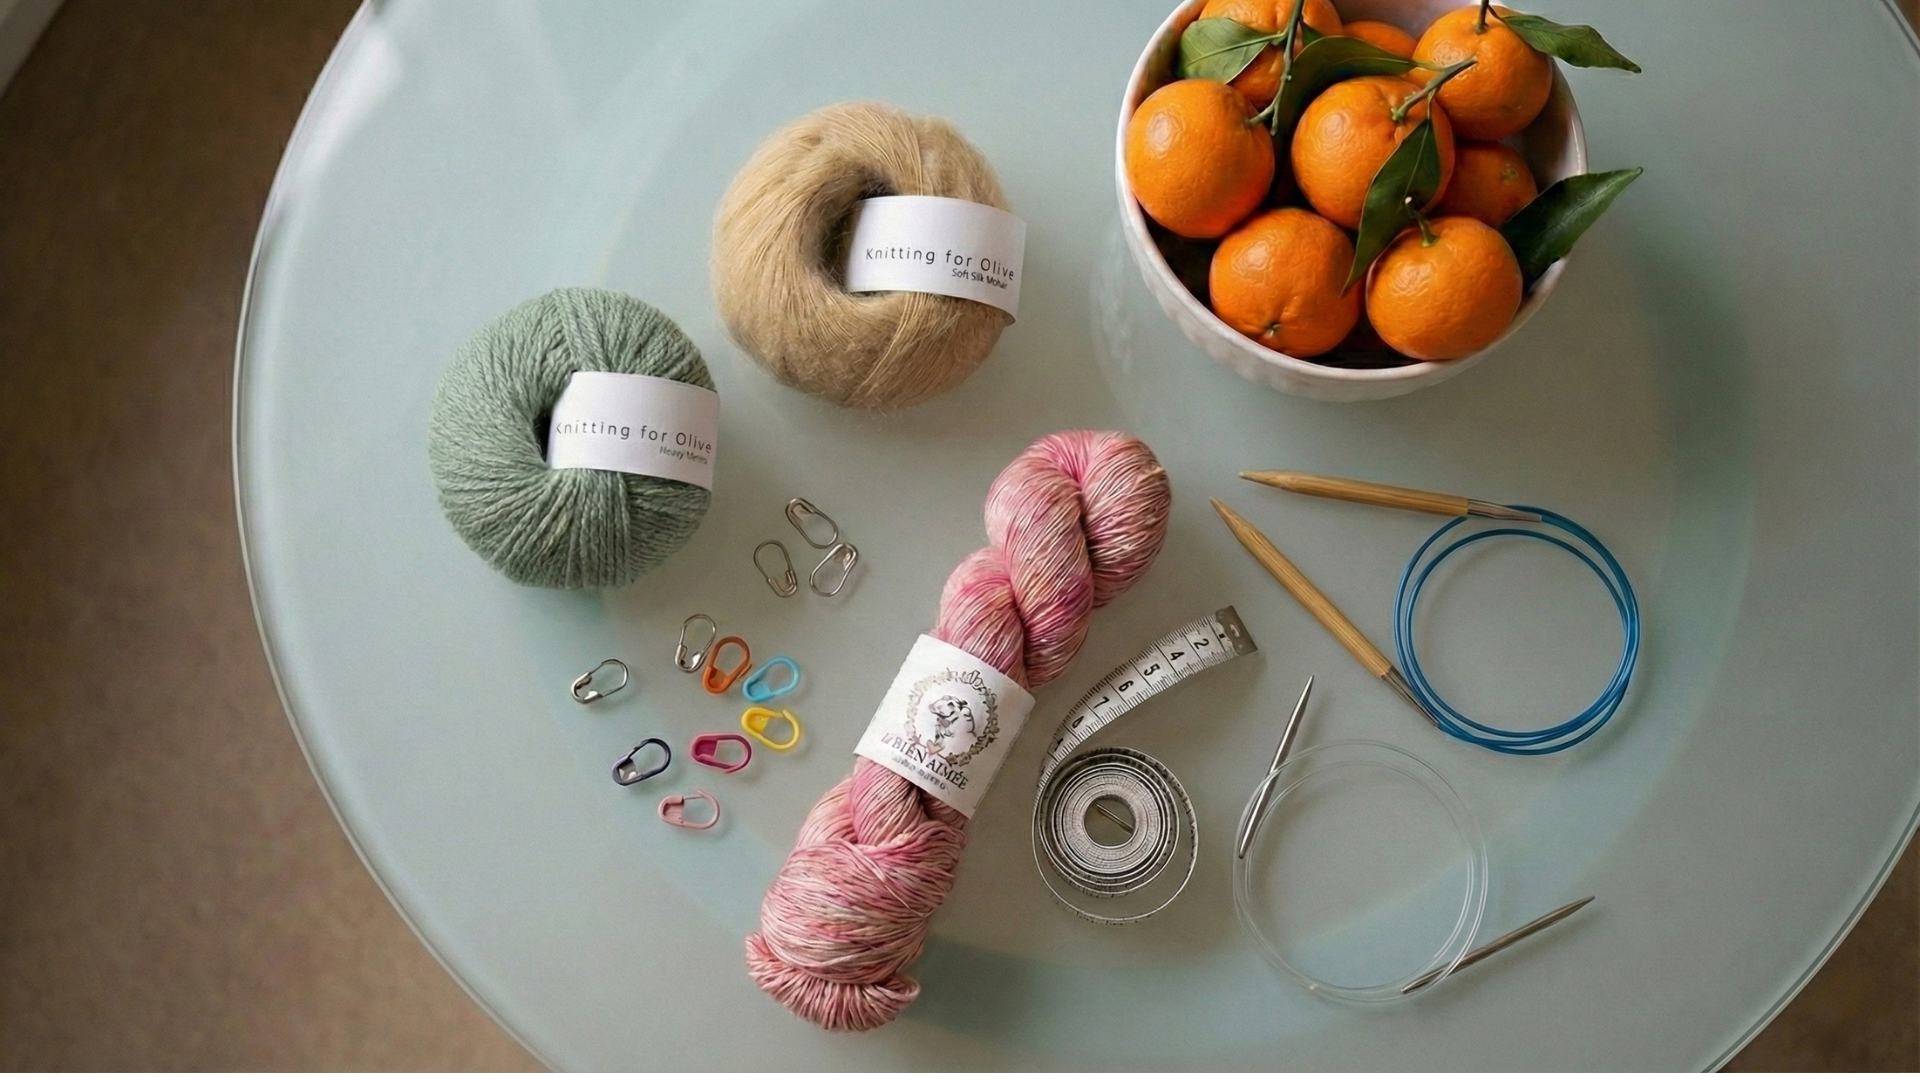
It is not the most boring mandatory exercise of knitting, but a small investment with great impact. 20 minutes that save you hours of frustration. A window into the future of your project. And to be honest: also a first tactile moment with your new yarn – how it glides between your fingers, how the stitches feel on the needle, how light and shadow move over the emerging structure.
Let's discover together why the gauge is more than a necessary evil – and how to make it so that it really gives you reliable answers.
Why the gauge really matters
Fit is everything
Knitting is math made of wool. Every Pattern is based on a certain number of stitches per 10 cm – the so-called gauge. If your personal gauge deviates from this, the entire project changes proportionally.
An example: The Pattern specifies 22 stitches per 10 cm. You knit looser and only get 20 stitches. For a sweater with a 100 cm chest circumference, this means:
- Pattern: 220 stitches = 100 cm
- Your gauge: 220 stitches = 110 cm
Your sweater is 10 cm too large. Ten centimeters that make the difference between "fits perfectly" and "looks borrowed."
Fabric fullness and character
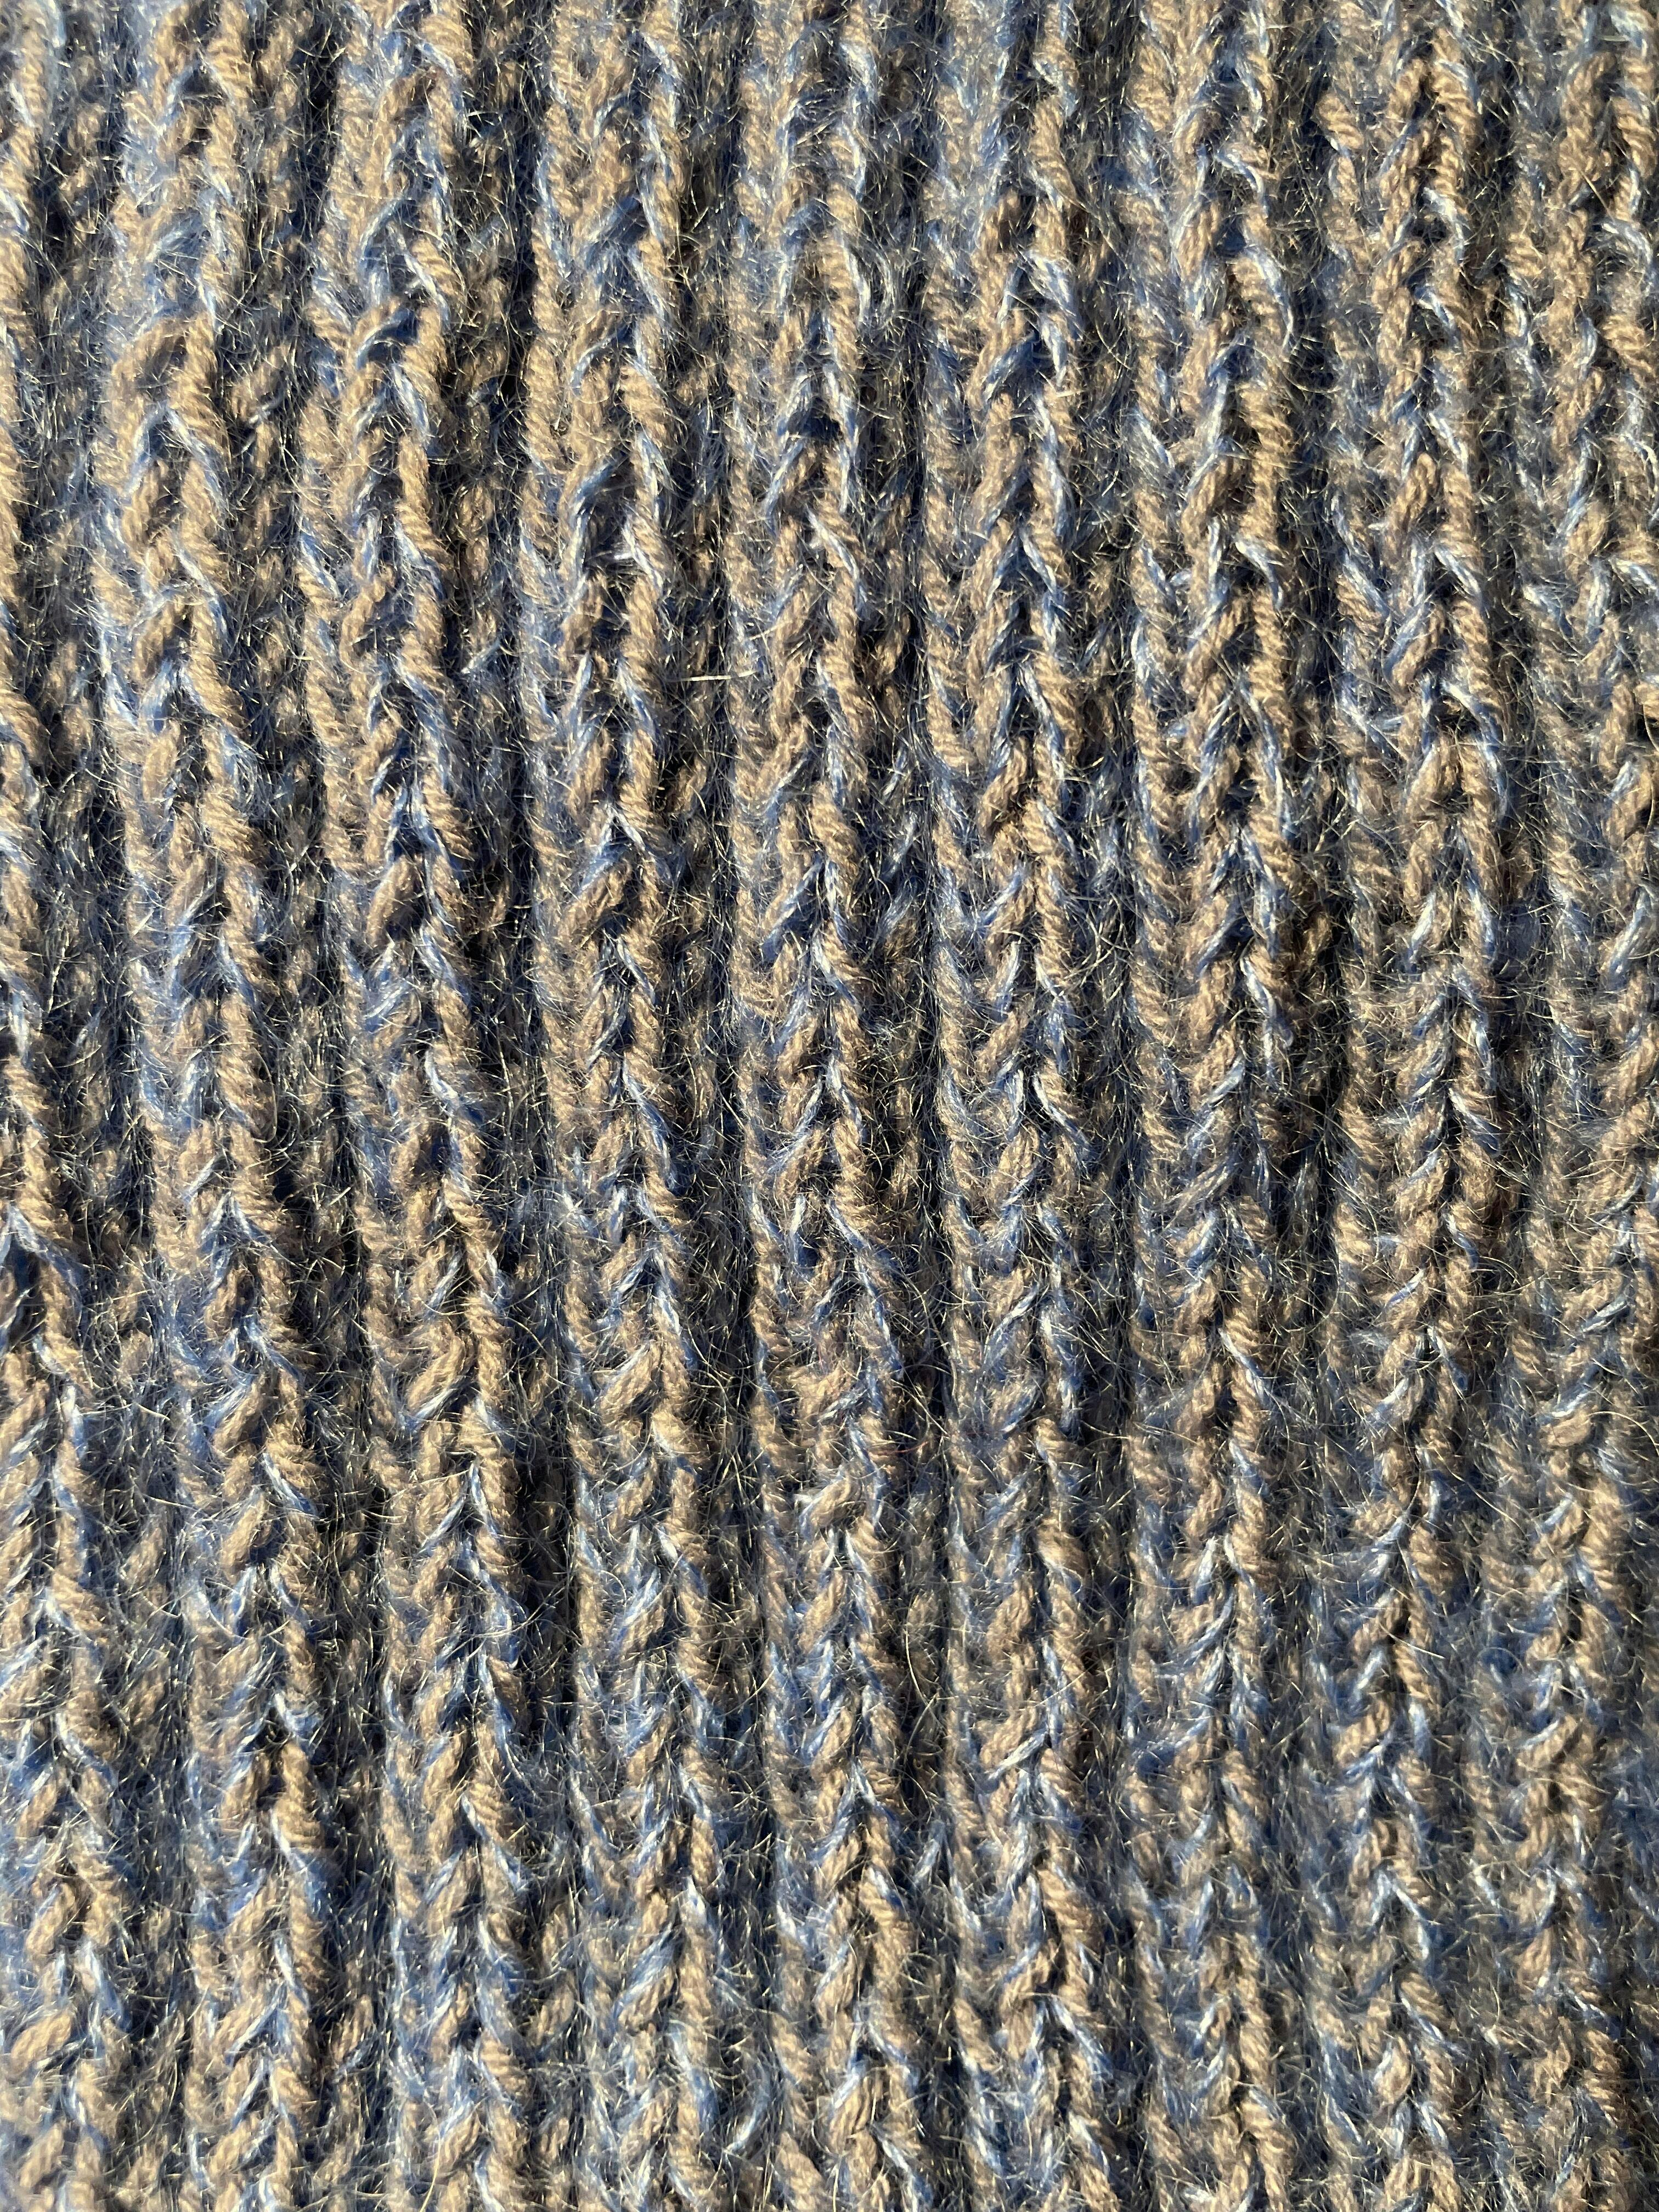
But the gauge tells you more than just numbers. It shows you how the fabric feels. Is it dense and structured, or airy and flowing? Does it tend to curl? How does it drape when you hang it?
Especially with noble fibers like Soft Silk Mohair or Silk Blend Fino, the needle size makes an enormous difference: One size larger, and a dense fabric becomes a transparent whisper. One size smaller, and the fluffiness condenses into velvety opulence.
The gauge swatch is your laboratory where you can experiment before committing.
Plan yarn consumption realistically
Who doesn’t know it: You buy yarn for a project, and halfway through knitting it becomes clear – it’s not enough. Especially with exclusive, hand-dyed yarns, reordering can be a challenge if the batch is sold out.
A correct gauge swatch helps you calculate yarn consumption precisely. If you knit tighter than specified, you need less yarn. If you knit looser, more. With the gauge swatch, you can reorder in time – or consciously choose a different pattern.
How to make the perfect gauge swatch
Size and preparation
Always knit larger than the specified 10×10 cm. Ideally 15×15 cm or even 20×20 cm. Why? The edge stitches distort the picture, and measuring in the middle gives you more reliable values.
What you need:
- Your project yarn
- The suggested needles (plus one size larger and smaller for testing)
- A tape measure or ruler
- Pins for marking
- Optional: A gauge swatch frame or Blocking Mats
Cast on about 5–8 stitches more than needed for 10 cm. For a specification of 22 stitches, at least 30 stitches.
Knitting
Knit in the pattern of the Pattern. Stockinette stitch? Then stockinette stitch. Ribbing? Then exactly that ribbing. The texture significantly affects the gauge.
Knit as you would knit the entire project:
- With the same posture (relaxed on the sofa or focused at the table?)
- At the same pace (not perfectionistically slow, but in your natural flow)
- With the same tension (not painfully loose or tight)
Knit at least 15 cm in height. Do not bind off – let the stitches rest on a lifeline or the needle. Binding off would distort the measurement.
Washing and blocking – the crucial step
Here the wheat is separated from the chaff: An unwashed gauge swatch is only half the truth.
Many yarns – especially those with natural fibers or alpaca content – change with the first wash. They stretch, shrink, soften, or the stitches settle differently.
Here’s how to proceed:
- Wash the swatch as you will the finished piece later (hand wash or wool cycle, cold to lukewarm water)
- Carefully press out the water (do not wring!)
- Roll them in a towel and press again
- Lay them flat on a towel or Blocking Mat
- Gently shape them into the correct form without stretching
- Let them dry completely
Only now does the yarn show its true character.
Measure correctly
Place your dry, blocked swatch on a smooth surface. Use a stiff tape measure or ruler.
Gauge horizontally (stitches per 10 cm):
- Measure in the middle of the swatch, not at the edge
- Mark a 10-cm section with pins
- Count the stitches between the needles
- Count half stitches too! (20.5 stitches are closer to 21 than to 20)
- Measure in at least two different places and calculate the average
Gauge swatch vertical (rows per 10 cm):
- Same principle, but vertical
- For patterns: Count complete pattern repeats
Note all values: stitches per 10 cm, rows per 10 cm, needle size used, pattern.
Common mistakes (and how to avoid them)
Knit too small: A 10×10 cm swatch is too inaccurate. Edge stitches distort the result. Always knit 15×15 cm or larger.
Don’t wash: Many yarns stretch when washed. What fit dry can be too large after the first wash.
Measure only once: Measure in several places and calculate the average. Hand-knit pieces are rarely mathematically perfectly even.
Knit too tightly: If you knit the swatch tense and perfectionistically, it will be denser than your later, relaxed project yarn. Knit naturally.
Ignore the pattern: Stockinette and ribbing have different gauge swatches. Always knit in the project pattern.
When can you skip the gauge swatch?
Let’s be honest: Not every project needs a gauge swatch.
Skip them for:
- Scarves, shawls, and other projects where size is flexible
- Experimental, free knitting pieces without fit requirements
- Projects you have already knitted with exactly this yarn and this Pattern
Definitely make them for:
- Sweaters, cardigans, jackets
- Socks (if you don’t want to keep knitting them)
- Hats with specific fit
- Anything that needs to fit someone
- Expensive, limited yarns where restocking is risky
Your next step
The swatch is not a test you have to pass – it is a conversation between you, the yarn, and the Pattern. It gives you confidence before you dive into a project. And sometimes it also tells you that a different needle size or yarn would fit better.
At Bonifaktur you will find not only exceptional yarns but also the inspiration to work them with care and joy. Whether you choose Soft Silk Mohair, Whether you choose Silk Blend Fino or durable sock yarn – a small swatch shows you what's possible.
Take the 20 minutes. Your hands, your yarn, and your future self will thank you.
FAQ: Swatch – Quick Answers
Do I really have to make a swatch for every project?
For fitted projects (sweaters, socks, hats): yes. For free projects like scarves or experimental shawls: not necessarily.
What if my swatch doesn't match the Pattern?
Try a different needle size. Too few stitches? Use smaller needles. Too many stitches? Use larger needles. Usually, half or a whole size is enough.
Can I unravel the swatch later and reuse it?
Yes! Many knitters keep swatches (as reference or for wash testing), but you can also reuse the yarn.
How important is the row gauge?
Very important for projects measured by height (e.g., raglan sweaters). Less critical for projects worked by stitch count.
My yarn behaves completely differently after washing – is that normal?
Yes, especially with natural fibers. Mohair fluffs up, alpaca stretches, silk grows. That's why washing the swatch is so important.
Knit with love, measure with care, wear with joy.
Sock yarn: Durability & construction explained